In the realm of computer-aided design (CAD), Autocad stands as a powerful tool that enables architects, engineers, and designers to create intricate and accurate drawings. One feature that often goes unnoticed is the ability to add borders around images, which not only enhances the visual appeal but also adds a professional touch to your designs. In this blog post, we will delve into the intricacies of adding an Autocad border around an image and explore the various ways you can utilize this feature to elevate your design projects.
I. Understanding Autocad Borders:
Before delving into the process of adding a border around an image in Autocad, it’s crucial to grasp the concept of Autocad borders. An Autocad border is a frame or boundary that surrounds an image, providing visual separation from the rest of the drawing. Borders serve multiple purposes, such as highlighting an important aspect of the design or organizing multiple elements within a single drawing.
II. Adding a Border Around an Image in Autocad:
Now that we have a clear understanding of Autocad borders, let’s explore the step-by-step process of adding a border around an image:
1. Importing the Image:
The first step involves importing the image onto the Autocad canvas. You can either drag and drop the image file or use the “Insert” command to select the desired image.
2. Resizing and Scaling the Image:
Once the image is imported, it might require resizing and scaling to fit within the desired dimensions. Autocad provides an array of tools to adjust the size and proportions of the image to achieve the perfect fit.
3. Creating the Border:
To create a border around the image, you can make use of the “Polyline” command or the “Rectangle” command, depending on your design requirements. These commands allow you to draw a closed boundary around the image, forming the basis of your border.
4. Styling the Border:
Autocad offers various tools and options to customize the appearance of your border. You can choose from different line styles, colors, and thicknesses to create a border that aligns with your design aesthetic. Experimenting with different styles can help you find the perfect balance between professionalism and creativity.
III. Utilizing Borders for Effective Design:
Now that you have mastered the art of adding an Autocad border around an image, let’s explore the potential applications and benefits of utilizing borders within your designs:
1. Emphasizing Key Elements:
Borders can be used to draw attention to important elements within your design. By enclosing specific sections of your drawing with a border, you can guide the viewer’s gaze and highlight essential details, such as specific dimensions or annotations.
2. Organizing Complex Designs:
In intricate designs with multiple components, borders can play a vital role in organizing different elements. By applying borders around related elements, you can create visual groups, making it easier for viewers to understand the structure and hierarchy of your design.
3. Enhancing Aesthetics:
Borders add a touch of elegance and professionalism to your designs. Experimenting with different border styles, colors, and thicknesses can help you achieve a visually appealing and cohesive outcome. A well-designed border can elevate your design from ordinary to extraordinary.
4. Branding and Standardization:
Borders can contribute to establishing a consistent brand identity and design standardization. By incorporating a consistent border style across multiple drawings or projects, you can create a cohesive visual language that enhances brand recognition and professionalism.
Conclusion:
Adding an Autocad border around an image is a simple yet powerful technique that can significantly enhance your design projects. By understanding the concept of Autocad borders and following the step-by-step process outlined in this blog post, you can effortlessly create visually appealing designs that capture attention and convey professionalism. So, why not give it a try and take your designs to the next level?
We would love to hear about your experiences with adding borders around images in Autocad. Share your thoughts, tips, and ideas in the comments below!
How to turn off border around an image in AutoCAD
Oct 18, 2023 … How to turn off the border around an image in AutoCAD. Set the IMAGEFRAME system variable to a value other than 1. Type IMAGEFRAME on the … – www.autodesk.com
How to remove yellow border that’s around an image – Autodesk …
Oct 28, 2004 … Once you’ve placed the image you need to use the DECAL tool (on the modelling toolbar) to finalise it and “stick it in place” This gets rid of … – forums.autodesk.com
Insert Image without border? – AutoCAD Beginners’ Area – AutoCAD …
I would like to insert JPG image without a border. AutoCAD > Insert > Raster Image Reference > … find the file Good, I got the file. – www.cadtutor.net
AutoCAD How to Remove Border From Images – Plus PDFs & A …
Apr 13, 2021 … … borders around a variety of objects in AutoCAD, including images and pdfs! And at the end, I show you a quick trick that can save you time … – cadintentions.com

Autocad Border Around Text
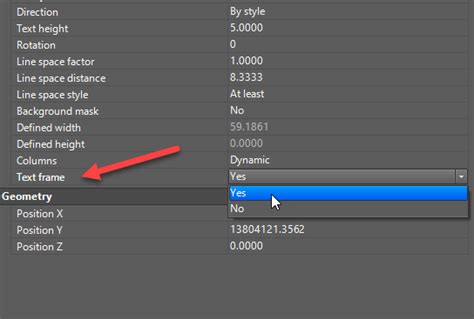
Autocad Border Around Text To Add a Frame Around Text | AutoCAD | Autodesk Knowledge … Dec 18 2017 … To add a frame to text select the text and then right-click and select Properties from the context menu. Scroll down the list of properties … /a /p !– /wp:paragraph — /div !– /wp:group — !- – drawspaces.com
Solved: Black line around image after plot – Autodesk Community …
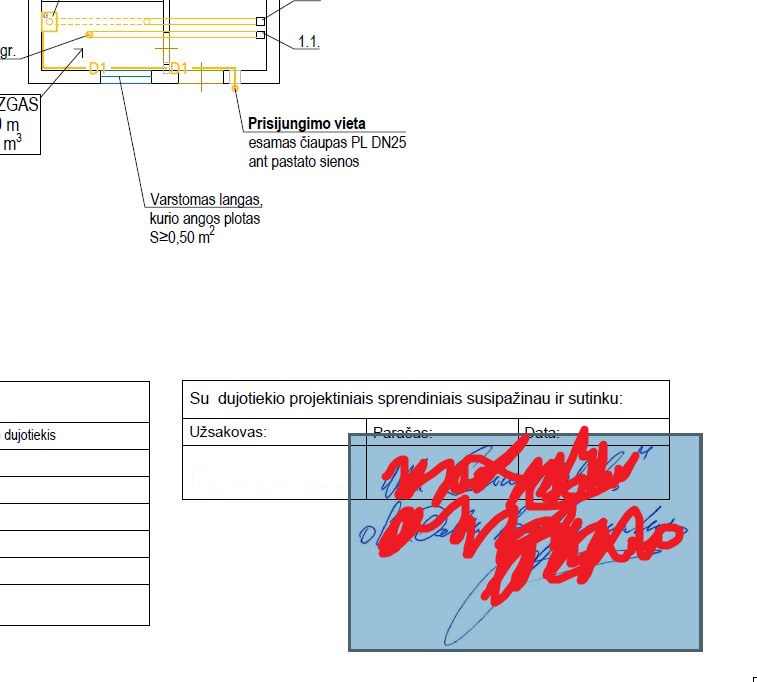
Oct 8, 2019 … … picture” and turn off its borders. (blue square is my. … around image after plot. autocad-lt. AutoCAD LT. Community. Forums. AutoCAD LT Forum. – forums.autodesk.com
Solved: how to remove the border from image copied from Clipboard …
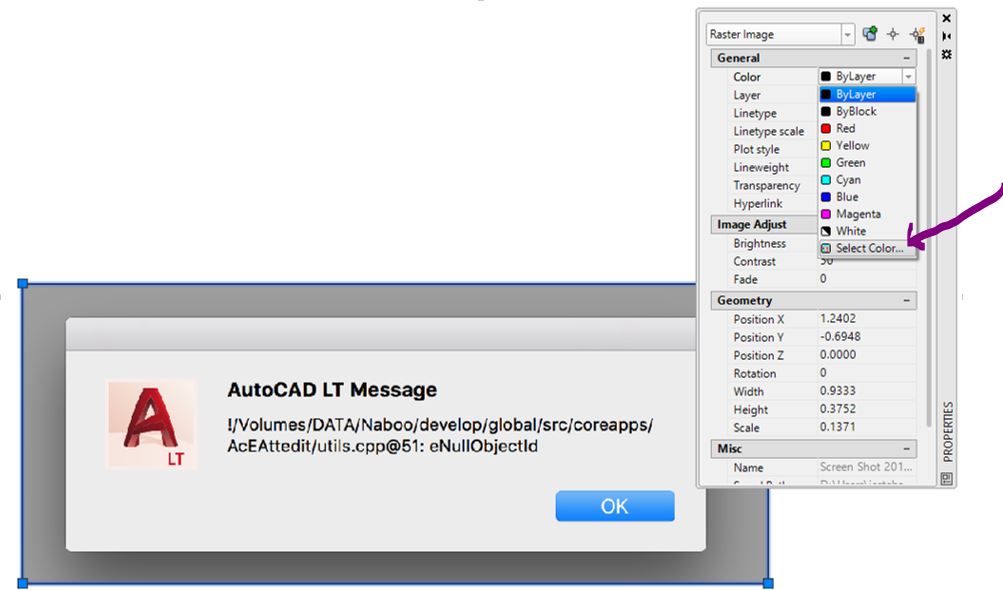
May 31, 2018 … Sign in. Autodesk Community · Forums Home; >; AutoCAD Community; >; AutoCAD … This copies my image to the drawing but has a black border around … – forums.autodesk.com
Remove border from Excel OLE in AutoCAD
Nov 22, 2006 … I am linking an Excel file into CAD and it automatically shows a border around the linked image. Does anyone know how to make that border go … – forums.augi.com
Remove Frame (Border) for a Single Raster Image Only – Autodesk …
Aug 4, 2019 … I am in AutoCAD 2016 on Windows 7. Is there a way to turn off the frame for a single raster image only? I know of the IMAGEFRAME command … – forums.autodesk.com
Solved: Turn Off Image Border – Autodesk Community – Civil 3D
Nov 28, 2012 … Welcome to Autodesk’s Civil 3D Forums. Share your knowledge, ask questions, and explore popular AutoCAD Civil 3D topics. – forums.autodesk.com
Cursor Jumps Around Autocad
Cursor Jumps Around AutoCAD: How to Tackle this Annoying Issue AutoCAD is a widely used software for drafting and designing but it can be frustrating when the cursor jumps around unexpectedly. This issue can disrupt your workflow and waste valuable time. In this blog post we will delve into the comm – drawspaces.com
Insert Image To Autocad
Insert Image To Autocad To Add Images Using Insert Image | AutoCAD Map 3D 2022 … May 13 2021 … To Add Images Using Insert Image · Click Home tab Data panel Insert An Image. · In the Insert Image dialog box select the drive and folder that … knowledge.autodesk.com AutoCAD How To Insert Image – – drawspaces.com
Clip Image In Autocad
Autocad Clip Image To Clip an Image | AutoCAD 2021 | Autodesk Knowledge Network Aug 12 2020 … At the Command prompt enter IMAGECLIP. · Select the image to clip by selecting the image boundary. · At the Command prompt Enter n (New Boundary) … knowledge.autodesk.com Clip Image In Autocad – Autocad – drawspaces.com

Autocad Hatch Around Text
How To Remove Hatch Behind Text In Autocad wipeout hatching behind text – Autodesk Community – AutoCAD if you place text first (or delete hatch and rehatch) hatch with mask a small area around the text. good luck to anyone doing City and Guilds exams. /a /p /p !– /wp:paragraph — /div !– /wp:group – drawspaces.com
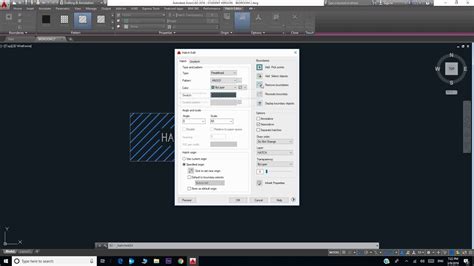
Insert Image In Autocad Permanently
Insert Image In Autocad Permanently: A Comprehensive Guide Autodesk AutoCAD is a powerful software that allows architects engineers and designers to create precise and detailed drawings. One of the essential features of AutoCAD is the ability to insert images into drawings allowing users to incorpor – drawspaces.com

Autocad Circle Around Text
Autocad Circle Around Text Solved: How do put text in a circle triangle etc ballon? – Autodesk … Aug 6 2018 … Welcome to Autodesk’s AutoCAD Mechanical Forums. Share your knowledge ask questions and explore popular AutoCAD Mechanical topics. /a /p !– /wp:paragraph — /div !– /wp:column — !– w – drawspaces.com
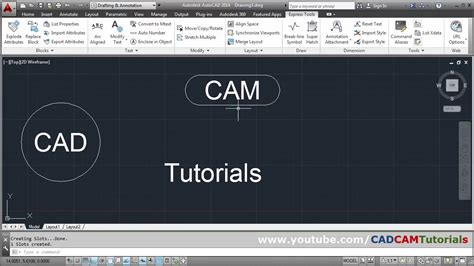
Cursor Jumping Around Autocad
Cursor Jumping Around AutoCAD: Troubleshooting and Solutions Introduction (Word count: 200 words) ———————- Autodesk’s AutoCAD is an industry-leading software used by architects engineers and designers worldwide for precise drafting and 3D modeling. However one frustrating issue that us – drawspaces.com
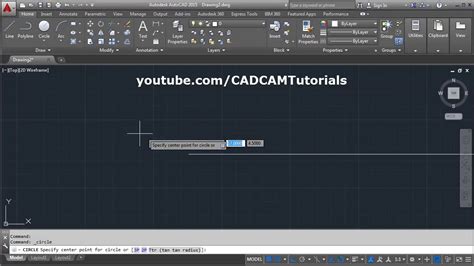
Scale Image Autocad
Scale Image Autocad To properly scale an image or PDF after inserting into AutoCAD … Aug 23 2022 … Solution: · Type LINE on the command line and press Enter. · Draw a line that is the desired length the image reference length should be then … knowledge.autodesk.com AutoCAD Tutorial | Scaling I – drawspaces.com

Crop Image In Autocad
Crop Image In Autocad: A Step-by-Step Guide to Enhancing Your Design Skills In the world of computer-aided design (CAD) AutoCAD has become the go-to software for professionals and enthusiasts alike. Its versatility and powerful tools make it an excellent choice for various design tasks. One essentia – drawspaces.com

Add or Remove Image Frames or Boundaries for JPEGs, PDFs, etc …
Dec 16, 2020 … Type 0 to make image frames invisible, both in your drawing and when you plot. Type 1 to make image frames visible, both in your drawings and … – www.landfx.com
